
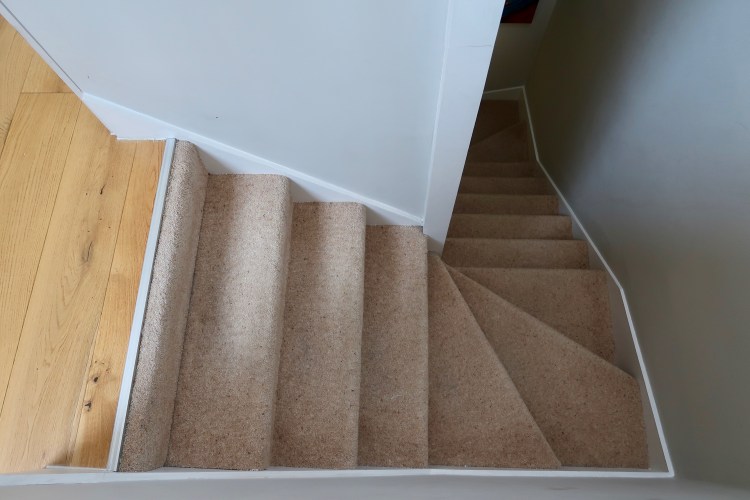
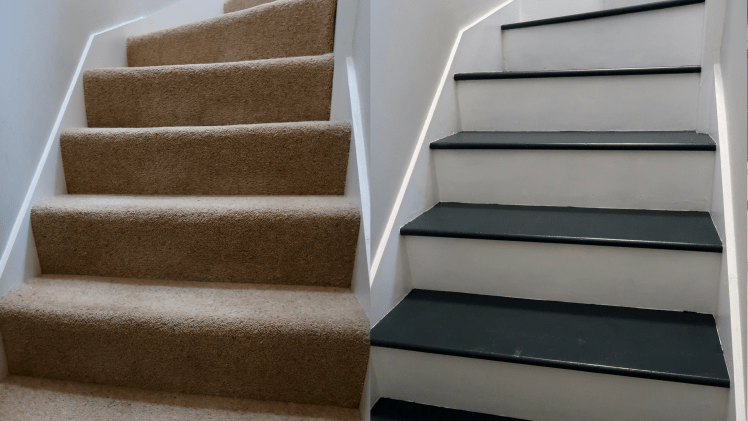
Andrew and I have been wanting to redecorate our staircase for ages! It was covered with an ugly beige, low-quality carpet and with all the traffic going up and down the stairs (and a cat!) it was impossible to maintain! We wanted to get rid of the dust trap and decided to remove the carpet and paint the stairs.
Knowing that none of us is a DIY expert (far from it!), we started the project half scared to screw up and half excited to get rid of the giant mites’ house.
It took blood, sweat and blisters to get there but after 4 days of work, we finally said goodbye to the carpet and hello to new shiny and easy to mop steps.
So, if like us you have been dreaming to remove an ugly dated carpet and give your staircase a sleeker look, keep reading to know what tools you will need and the steps to follow!
The tools you need
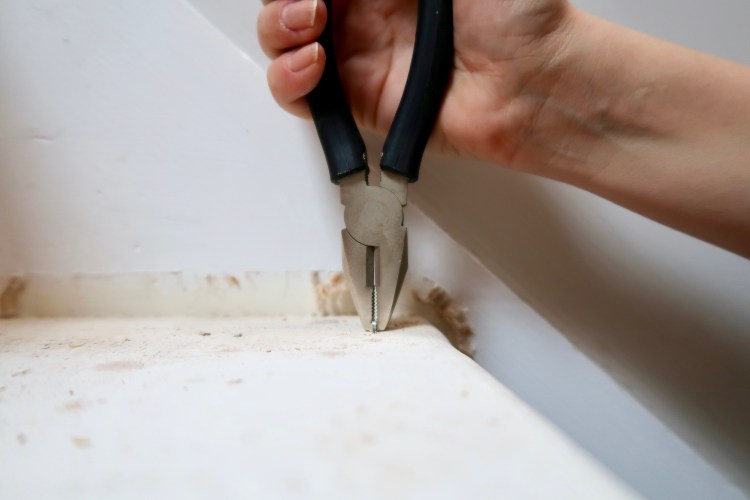
For this project, you will need pliers and a flat head screwdriver
. These will help you remove the carpet and the gazillion staples that hold it into place.
After removing the carpet, you will need wood filler, a filling knife
and sandpaper
to even the stair treads. I personally found my fingers to be the best tool to push the filler paste in.
For the painting phase, you will need paint of course, as well as a primer-sealer to apply to the plywood first. Grab also a good amount of paint brushes, masking tape and a small painting roller. For the colours we went for Dulux Wood and Metal Eggshell paint in Pure Brillant White and Farrow and Ball Modern Eggshell in Railings
Finally, in our case we also got Gorilla glue, a junior hacksaw
and a file
to prepare and fit the decorative trims.
We spent around £150 to complete the project and the biggest investment was our time. This is not an afternoon DIY session, you will have to commit at a minimum 2 weekends to complete it.
Phase 1 – Removing the carpet
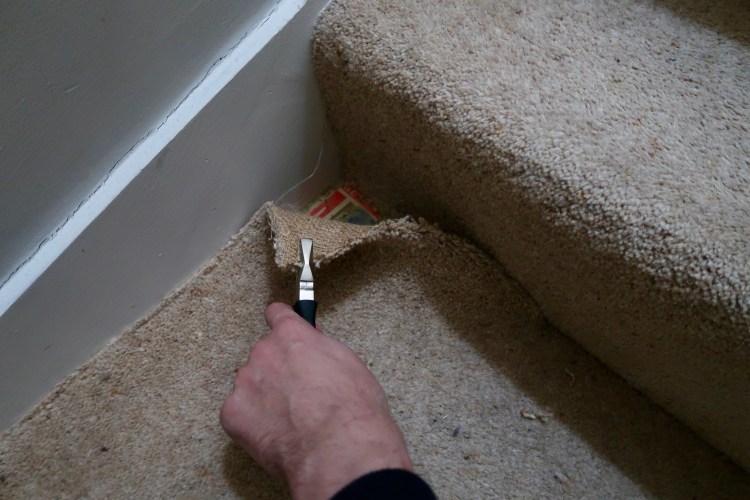
This was the simplest step yet the most painful one. Removing carpet is very easy! Just pull it up with the pliers and roll it off.

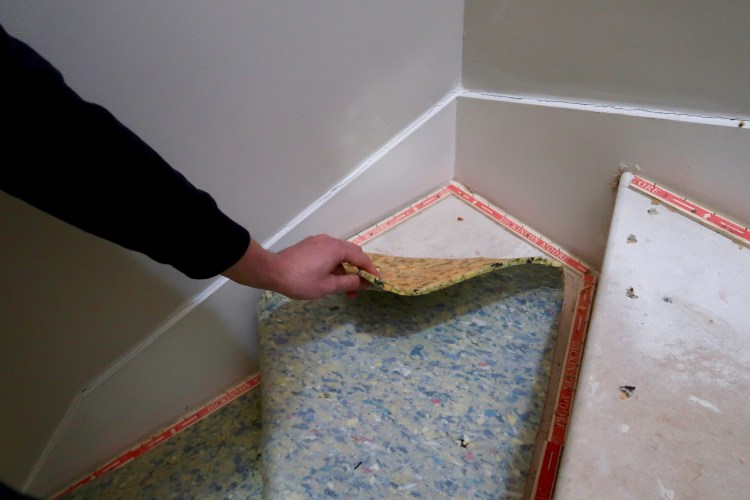
You will find padding underneath, again simply pull it off.
Now comes the very, very, very painful part. Nothing complicated but my god it will require a lot of elbow grease. Removing the grips and staples was the longest and most tedious step.

It isn’t complicated but it just takes FOREVER! We spent a good 3 hours doing it using the pliers and flat head screwdriver
, and there were two of us. So, if anything I would say make sure you get some help with this part otherwise you may end up with many blisters on your fingers (I did!) and probably sobbing in despair.
Phase 2 – Wood filling and sanding
After having removed the carpet and all the staples, I vacuumed and mopped thoroughly the steps before starting to apply the wood filler. There was an incredible amount of dust!

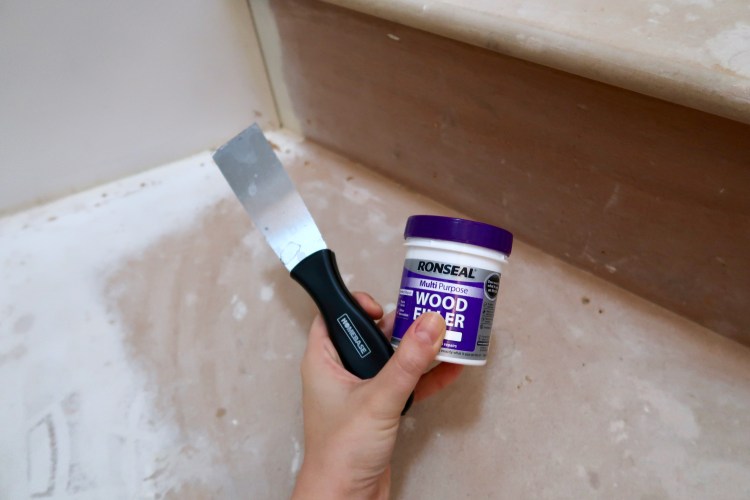
This phase is straight forward. I used Ronseal wood filler and applied it with a filling knife
but soon upgraded to my fingers. Some of the holes were teeny tiny and I found that using my hands helped me be more precise and efficient.
We were lucky enough that the stairs were in a decent state and used simple sandpaper with a sanding block
. If the stairs are really uneven I would highly recommend renting a sanding machine as it would just get too exhausting to do it by hand.
Phase 3 – Priming, sealing and painting
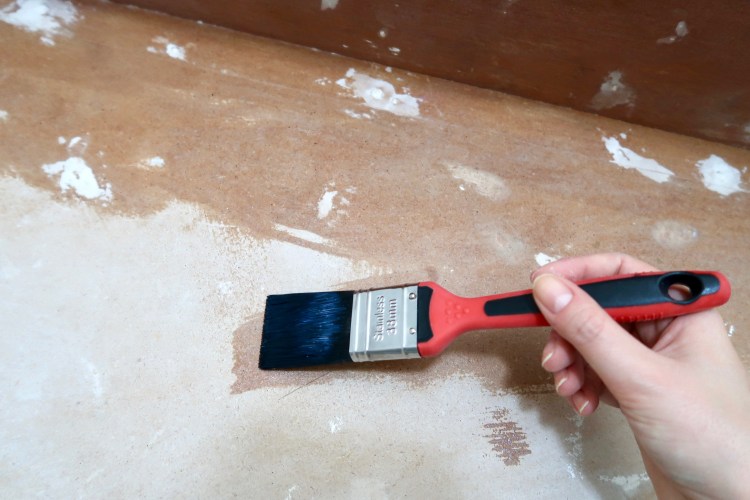
I started first by thoroughly cleaning again the treads and risers to get rid of all the sanding dust.
The stairs were made of plywood, pine wood and MDF so they marked and would become dented very easily. I was, therefore, so happy to find a primer which also acted as a sealer in Wilko, it had good reviews and definitely did the job.
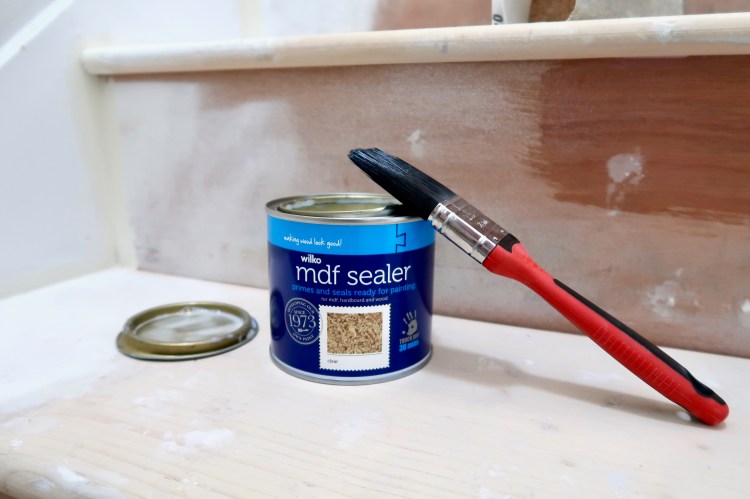
I did two layers of the primer and I could immediately feel how stronger and harder the surfaces were after application. For the entire staircase, I only needed one pot and I still have some product remaining.
Then came the painting phase. For the treads we opted for Farrow and Ball Modern Eggshell in Railings to tie in with the black wall we have in our corridor which is in Railings as well.

I did three coats and was left with enough paint to do a fourth one if I wanted.
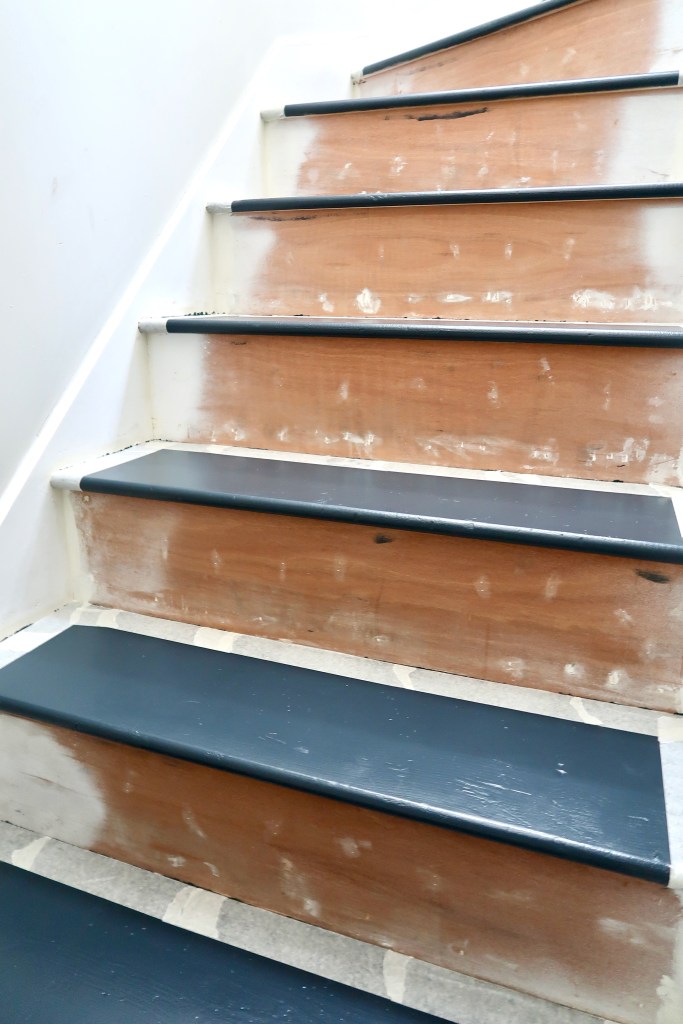
For the risers and skirting we picked Dulux wood and metal paint in Pure Brilliant White. It has very low sheen so it is perfect to hide any imperfections.

Again, I did three coats of the white paint and still have enough for another 2 staircases at least. Lesson learned: you need a lot less paint than you may think!
Phase 4 – Finishing touches
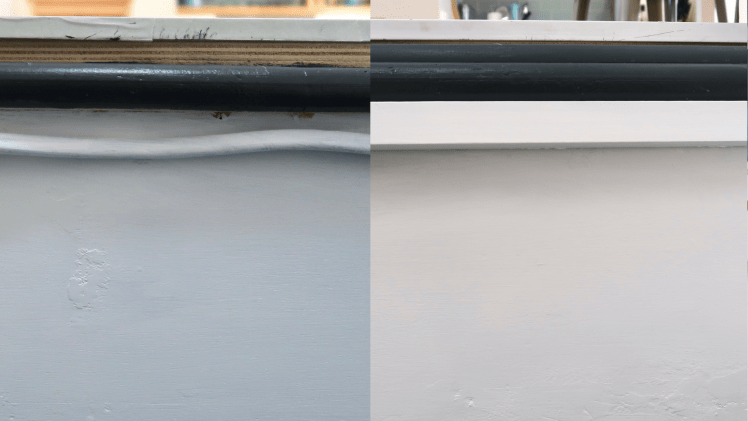
This phase is optional depending on the state of your stairwell and the adjacent floors. In our case, we were left with two gaps at the top and bottom of the stairs, where the carpet started and ended. We also had discovered an electric cable tucked in under one of the treads.
To fill the gaps, we purchased decorative trims which we cut to the right size using a junior hacksaw and a file
.

I then simply painted them the right colour and we glued them on using Gorilla glue.

To hide the cable, we purchased a U-shaped aluminium bar which we cut to the right size, painted white and simply glued on with the cable tucked-in. Simple enough and efficient!
*****

We are so pleased with the final result. It is such a drastic change we achieved on a very small budget. It will also make our life so much easier as the painted steps only require a bit of vacuuming and moping to stay clean and sleek.
These are all the steps we followed and tips I have to share with you if you are planning to redecorate and paint your staircase. For DIY beginners like us, it was an easy enough project, so pretty much anyone can do it. Just know that it will take time and A LOT of elbow grease.

This post contains some affiliate links, you can read more about affiliate programmes and partners here.
Follow me on Instagram, Twitter, Pinterest, Youtube, Bloglovin’ and Trover!

Leave a comment